


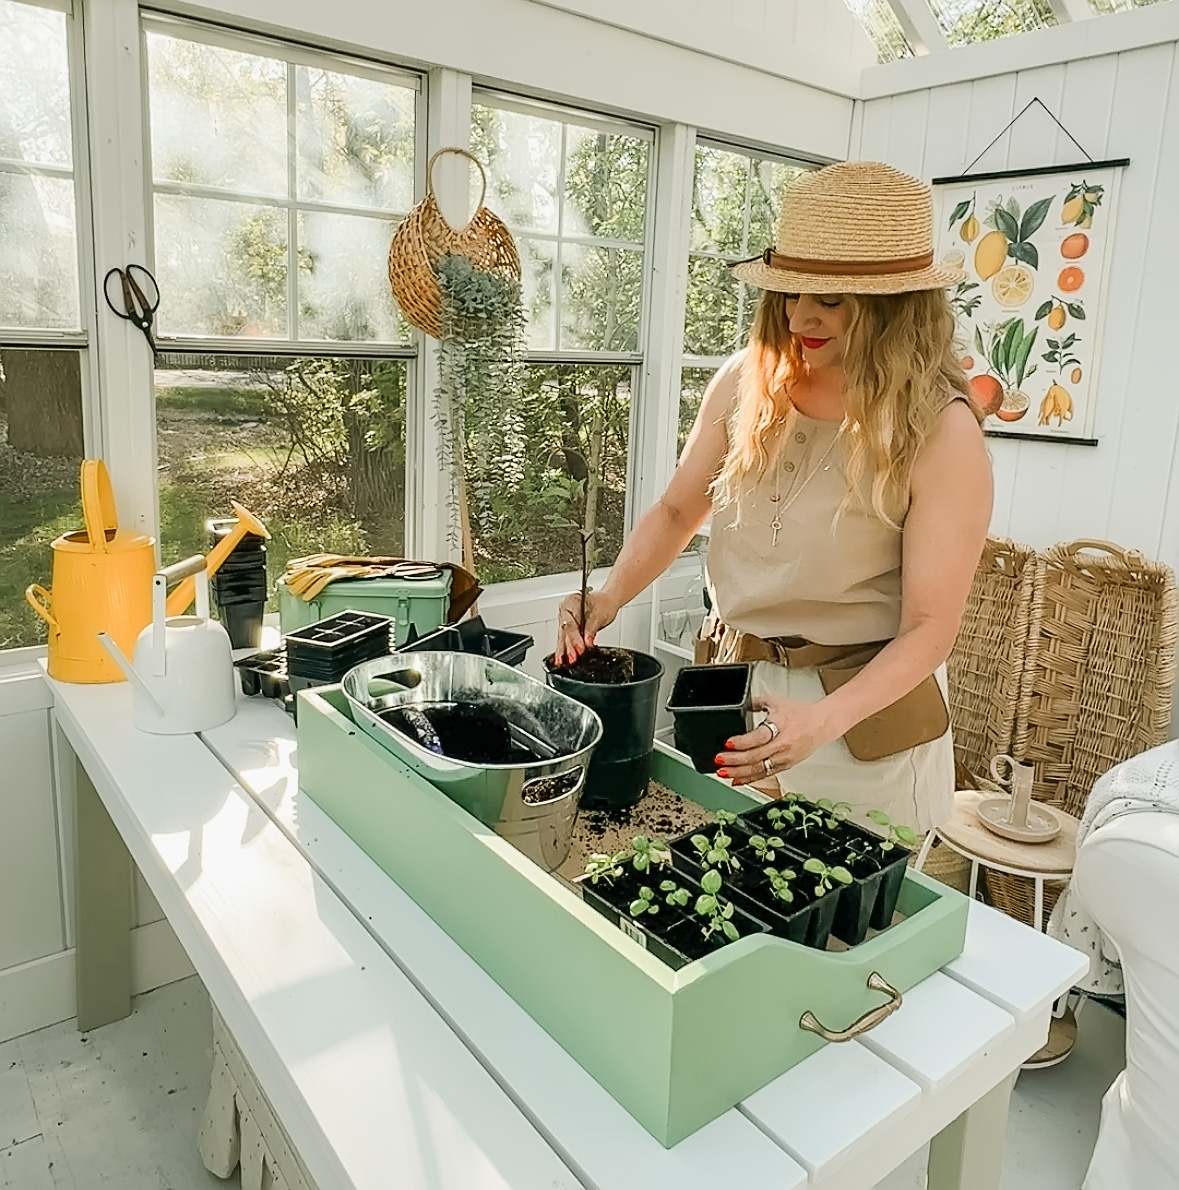
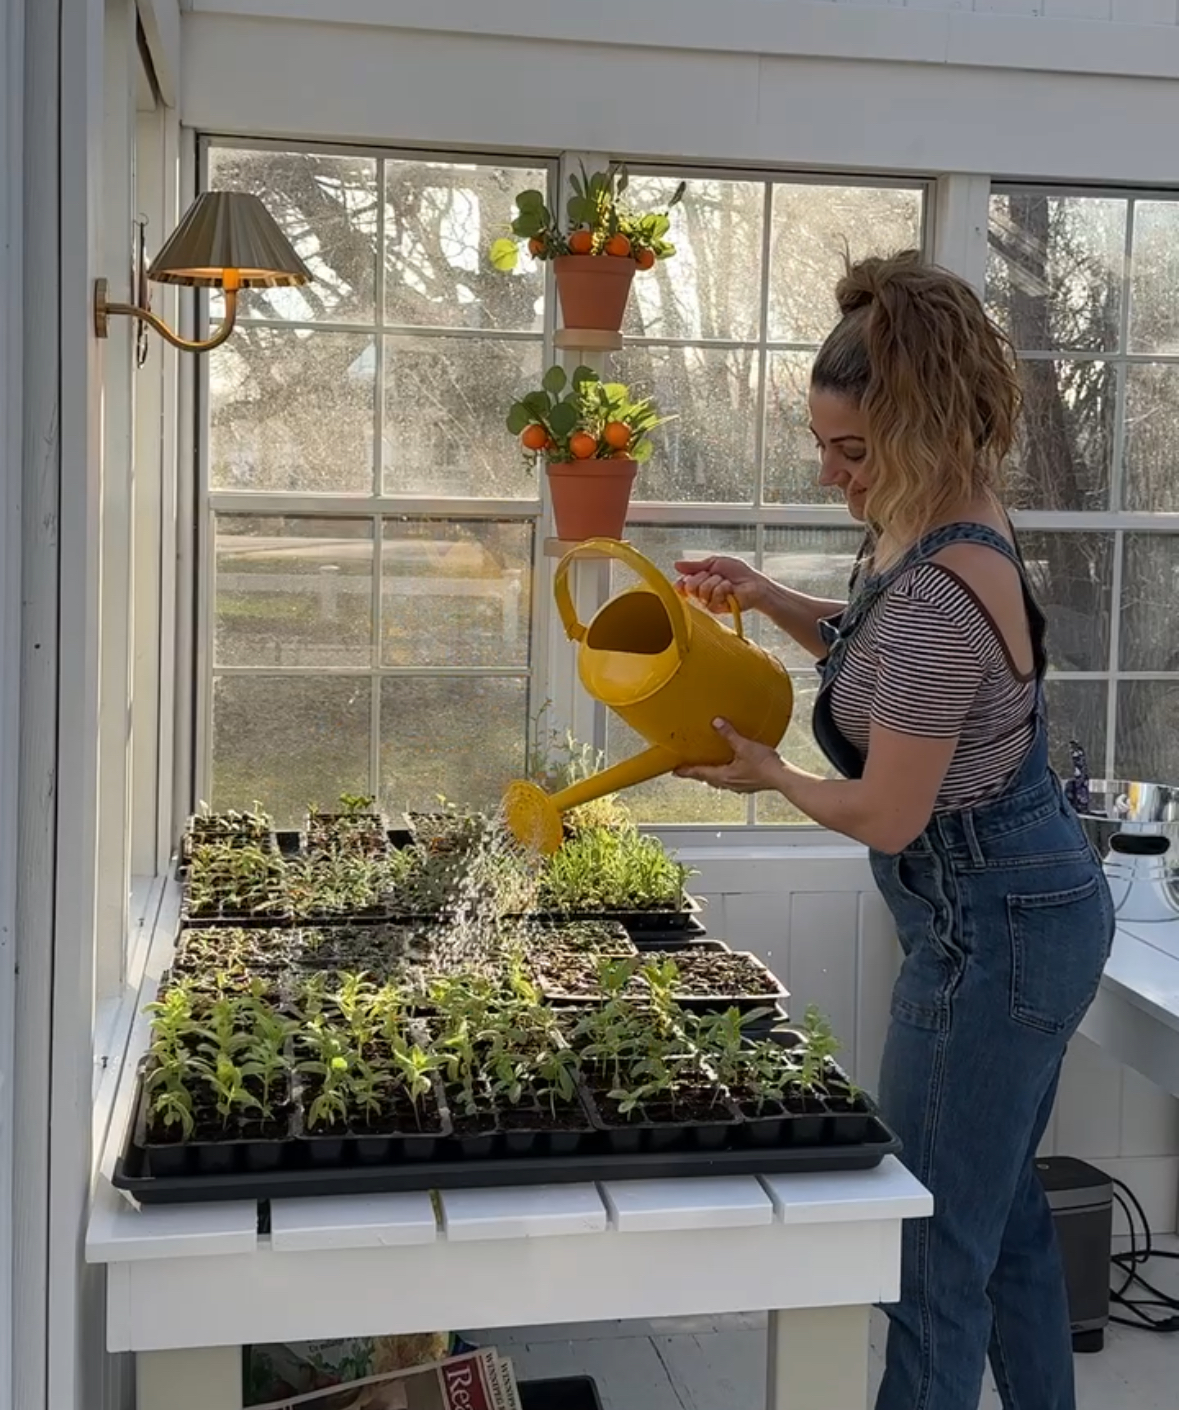
Here is how to make the easiest, most affordable, and beautiful looking folding leg tables for use in your greenhouse or anywhere!

Supplies
2x 1x4x6-foot pine
1x 1x4x8-foot pine
5x 1x6x6-foot pine
2x 2x4x8-foot pine/spruce
Four locking/folding brackets* (*optional if you’d like folding legs. If not you can save some money and affix the legs to the table top!) Link on my amazon store below this post!
Steps:
- To make the supporting table top frame: Cut the 6 foot 1x4s into your desired finished table length (up to the full 6-feet) minus 2 inches (to allow an overhang for the top). For a table where the legs fully fold flat (and is the minimum 29” height of a dining table, requiring 28″ legs), a minimum 62 inches is required on this frame, which will make the finished tables 64” long. You can go up to 70” long for a 6-foot finished table.
- Cut the 8-foot 1×4 pieces into three 26.5-inch pieces.
- You should now have 2 long 1×4’s the length of your table minus 2 inches, and 3 cross pieces that are 26.5 inches.
- To prep the table top pieces: Cut the five 1×6 6-foot pieces to your desired lengths, (2 inches longer than your frame length. If you’re making the tables 6 feet, no cuts are required here)!
- Sand and slightly round all the edges of the ends of your 1×6 pieces and lightly smooth the ends of the frame pieces.
- Paint all sides of the tables pieces with 2 coats of your preferred paint, I used SICO 360 enamel paint from McMunn and Yates for interiors/exteriors, to get a strong and wipeable surface under any conditions.
- To assemble your frame: Lay your two long 1×4’s down on the floor and affix two of the shorter 1×4’s to the top and bottom of the boards using wood glue and a couple brad nails to hold them in place in the center. Drill pilot holes on the outside of the brad nails on the top and bottom of each end of the joined pieces, followed by adding wood screws to secure, slightly sunken into the wood.
- To make the top: Add the planks to the table top, marking the centre of the table and the centre of the middle board, and then tacking the boards down with brad nails, working your way out from the middle leaving a 1/4 inch between each plank.
- Drill 2 pilot holes on each board edge where it meets the base frame. All top boards will have 6 holes. Sink the screws slightly.
- Fill all holes with wood filler.
- Cut the 2×4 pieces to create 4 legs at 28” long.
- Sand the edges and then paint all 4 sides of the legs. Allow to dry.
- Affix your legs to the table using screws through the top and sides of the table, or by using folding leg brackets.
- Turn your table upright, sand all the wood filler, and give another coat of paint or two to cover the holes and make your table look perfect.
Voila! Your table is ready for use!
Click here for a link to my Amazon faves for the kitchen, crafting, and garden!
Canadian FRIENDS:
links to the goods


american FRIENDS:
I need to add that I always check locally for all items at a lower price before using amazon.
I do make a small commission on all purchases at no extra cost to you.
Click here for a link to my Amazon faves for the kitchen, crafting, and garden!
